Systems Integrations to Alation
with Custom Templates and Fields
Overview
In this guide, we will walk you through on how to send data to Alation RDBMS objects to enhance the catalog.
For this guide, let's assume we want to add Data Quality information to a table. The following steps will be similar for schemas and columns that's been cataloged by Alation.
Designing the Integration
These steps are important as they will help determine what information you send from the different systems.
1. Consumers of this information
- Identify who the primary users are of the data catalog?
- Who would be the primary users of the information that this integration would surface?
- Majority if the time, these two audiences will be the same. Sometimes, however, there maybe use cases where only a subset of the users actually need to see this information. As a reminder, you can setup Custom Fields to have permissions so that users have to be in a group to be able to see this information in a metadata field.
2. Custom Fields
It is a best practice to create 2 custom fields as part of an integration, a rich text field and a picker field. Click here to learn more about how to create these within the catalog and how to add these field to a template.
-
Rich Text Field - supports HTML. See HTML Sanitization for more information. Set the name something that people will recognize. Don't use cryptic names or abbreviations like "XPGR System". Would a new employee know what that means? Is there a more generic way to name this?
NOTE It is encouraged to create an Article in Alation that gives context to what this platform does and how it is used.
-
Picker Field - Set value to True. Name the field to be "Has Data Quality" and set the value to be True if you are bringing in information from said tool. This will do a few things for your users:
- Filter search results with this picker option. "Alation, find me tables that have 'X' Integration"
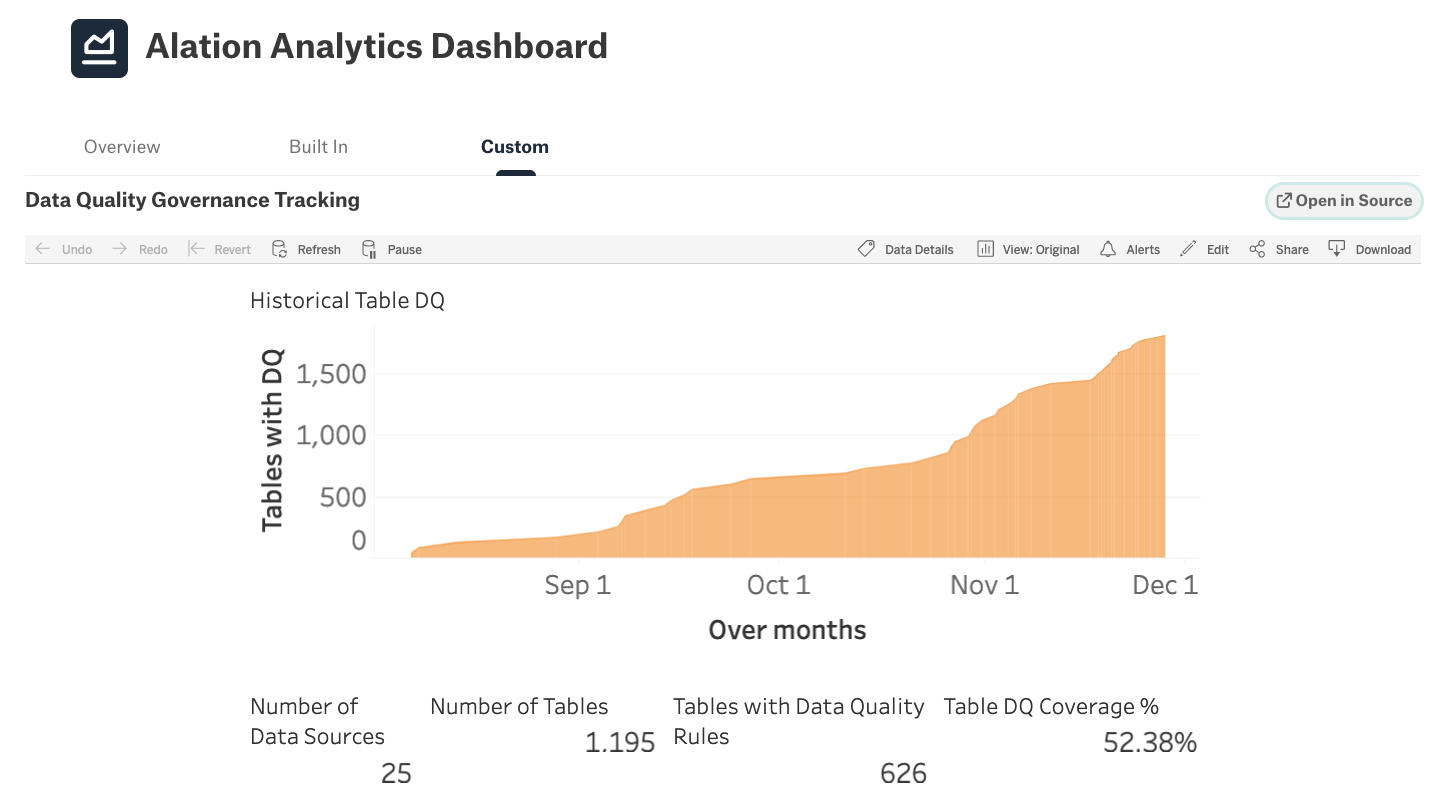
- Alation Analytics tracking - Once the field is on a table, for example, Alation Analytics will then start tracking coverage so you could build reporting metrics.

3. Keep the Content Simple
Mind the white space
It is really easy to create walls of text that users of any system will ignore. How can you summarize the data so that only the pertinent information shows. When we, at Alation, look at usage data, most users go from Search directly to a table in question. Most users are wanting to understand what the data means and, at a emotional level, quickly understand if they can trust the data.

Best Practices
- Summary the data to be pushed into Alation at the table level
- Provide the details at the column level
API Integration
APIs being used
- Relational Tables API
- Upload Logical Metadata
- Flags API
- APIAccessToken <- This guide assumes you have a valid access token
Permissions Needed
You will need a Server Admin role to do these steps. You can check the APIs by Roles for more details.
Overview of steps
- Identify which object(s) we want to update
- Update the description
- Update the picker/tracking field
- Setting Flags
Completed Code
Below is the completed python code for this guide.
1. Identify which object(s) we want to update
We’ll need to find the table we want to update. Using the Relational Tables API, we’ll pull back the list of tables and then search for the one we want. If you’re trying to process multiple tables, pulling all tables back in a single GET will save API calls vs. using the API parameters and calling individual API calls for each table.
# if you get an error, on the command line type pip install requests
import requests

# setting the base_url so that all we need to do is swap API endpoints
base_url = "CHANGEME"
# api access key
api_key = "CHANGEME"
# setting up this access key to be in the headers
headers = {"token": api_key}
# api for tables
api = "/integration/v2/table/"

# Table Name to match
targetTableName = "CHANGEME"

# make the API call
res = requests.get(base_url + api, headers=headers)
# convert the response to a python dict.
tables = res.json()

table_key = ""
table_id = 0

# would recommend creating a function for this action
# vs what we're doing in this guide
for table in tables:
    # matching on Title to find the one that starts with what we need
    if table["name"].startswith(targetTableName):
        table_key = table['key']
        table_id = table['id']
        print("The Table key for \"{}\" is {}". format(targetTableName, table_key))
        print("The Table id for \"{}\" is {}". format(targetTableName, table_id))
        break

print("Done with this section!")
Refer to Object Keys & Object IDs to determine the key structure for other objects
2. Update the description
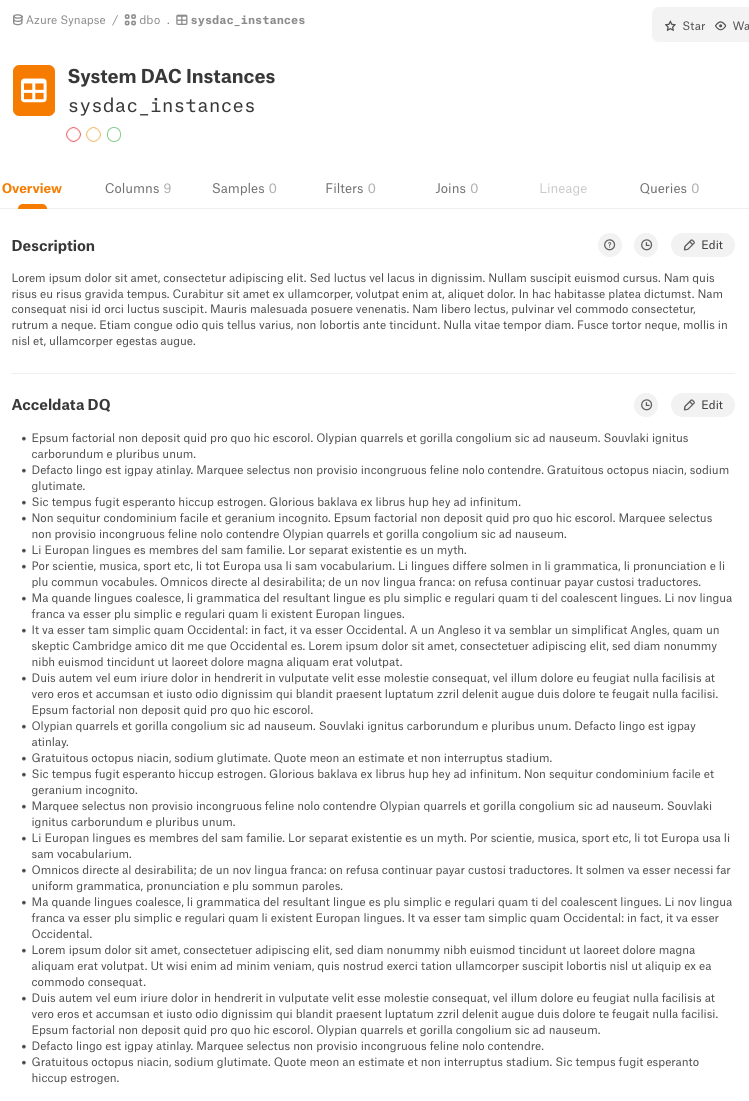
Now we can update the Enhanced Description. Typically the description would include a summary of the “enhanced” data, a link to the source system, and a table-like summary.
NOTE: When updating Rich Text Fields, make sure you review HTML Sanitization for which HTML values are allowed. iframes are always a good work around when needed ;)
singular_field_name = "Enhanced Description" # the custom field name we're setting

custom_field_value = '<div>\
	<div>Data from my source: <strong>Supplemental information</strong></div>\
	<br>\
	<div><strong>For more info, <a href="https://developer.alation.com/dev" target="_blank">click here</strong></a><\div>\
	<br>\
	<table style="border-style: inset;">\
		<thead>\
			<tr>\
				<th style="width: 25%;">Data Checks</th>\
				<th>Check Status</th>\
			</tr>\
		</thead>\
		<tbody>\
			<tr>\
				<td>NULL Check</td>\
				<td bgcolor="#69F95E"><strong>Pass</strong></td>\
			</tr>\
			<tr>\
				<td>DQ Check 2</td>\
				<td bgcolor="#FE5648"><strong>FAILED!</strong></td>\
			</tr>\
		</tbody>\
	</table>\
</div>'

custom_field_value_api = "/api/v1/bulk_metadata/custom_fields/default/table?create_new=false&replace_values=true"

data = {"key":table_key, singular_field_name:custom_field_value}

# Requests library makes it easy for us to convert a payload to json.
res = requests.post(base_url + custom_field_value_api, headers=headers, json=data)
print(res.json())

# if all went according to plan then, you should see a response that looks like
# {'number_received': 1, 'updated_objects': 1, 'new_objects': 0, 'error_objects': [], 'error': ''}
After API Call

3. Update the picker/tracking field
The use of a Picker field allows easy tracking within Alation Analytics of objects that now contain enhanced information for the external system
singular_field_name = "Enhanced Metadata Set" # the custom field name we're setting

custom_field_value_api = "/integration/v2/custom_field_value/"

custom_field_value = "Yes"

custom_field_value_api = "/api/v1/bulk_metadata/custom_fields/default/table?create_new=false&replace_values=true"

data = {"key":table_key, singular_field_name:custom_field_value}

# Requests library makes it easy for us to convert a payload to json.
res = requests.post(base_url + custom_field_value_api, headers=headers, json=data)
print(res.json())

# if all went according to plan then, you should see a response that looks like
# {'number_received': 1, 'updated_objects': 1, 'new_objects': 0, 'error_objects': [], 'error': ''}
4. Setting Flags
Using Alation’s trust flags, we can now set ENDORSEMENT, WARNING, or DEPRECATION for the object. This will allow users of the Alation catalog to know if the external system approves or finds issues with the data.
Setting the DEPRECATION flag also will set warnings on downstream objects expanding the visibility of the external system’s information reach.
custom_field_value_api = "/integration/flag/"

data = {
    "flag_type": "DEPRECATION",
    "flag_reason": "External System Identified issues with this table",
    "subject": {
        "id":table_id,
        "otype": "table"
    }
}


# Requests library makes it easy for us to convert a payload to json.
res = requests.post(base_url + custom_field_value_api, headers=headers, json=data)
print(res.json())

# if all went according to plan then, you should see a response that looks like
# {'id': 305, 'flag_type': 'DEPRECATION', 'flag_reason': '<p>External System Identified issues with this table</p>',
# 'ts_created': '2022-04-19T07:01:33.467077-07:00', 'subject': {'otype': 'table', 'id': 179, 'url': '/table/179/'},
# 'user': {'id': 1, 'url': '/user/1/', 'display_name': '[email protected]'}}
FAQ
- How often should I run this integration?
- Great question! This depends on the tool that you're pulling information from. Generally speaking, a chron job will work best.
Updated over 2 years ago